A hard dodger is a rigid shelter over the companionway that protects the cockpit from spray, sun, and rain. Compared with canvas, it lasts far longer, carries solar panels and handholds, and stays quiet in wind. Building one yourself costs a fraction of a professional install.
If you love sailing, you know how important it is to have a comfortable and safe cockpit. A hard dodger can provide you with protection from the elements, a clear view of the surroundings, and a sturdy structure for mounting instruments and solar panels. But buying a hard dodger can be expensive and not always fit your boat’s style and dimensions. That’s why many sailors choose to build their own hard dodgers, using materials like fiberglass, plywood, foam, and epoxy.
What Is a Hard Dodger?
A hard dodger is a permanent, rigid structure that’s mounted to the deck of a sailboat. It provides shelter from the wind and rain and can also be used as a support for instruments like navigation lights or antennas. Hard dodgers come in many shapes and sizes, and can be customized to the specific needs of your boat1.
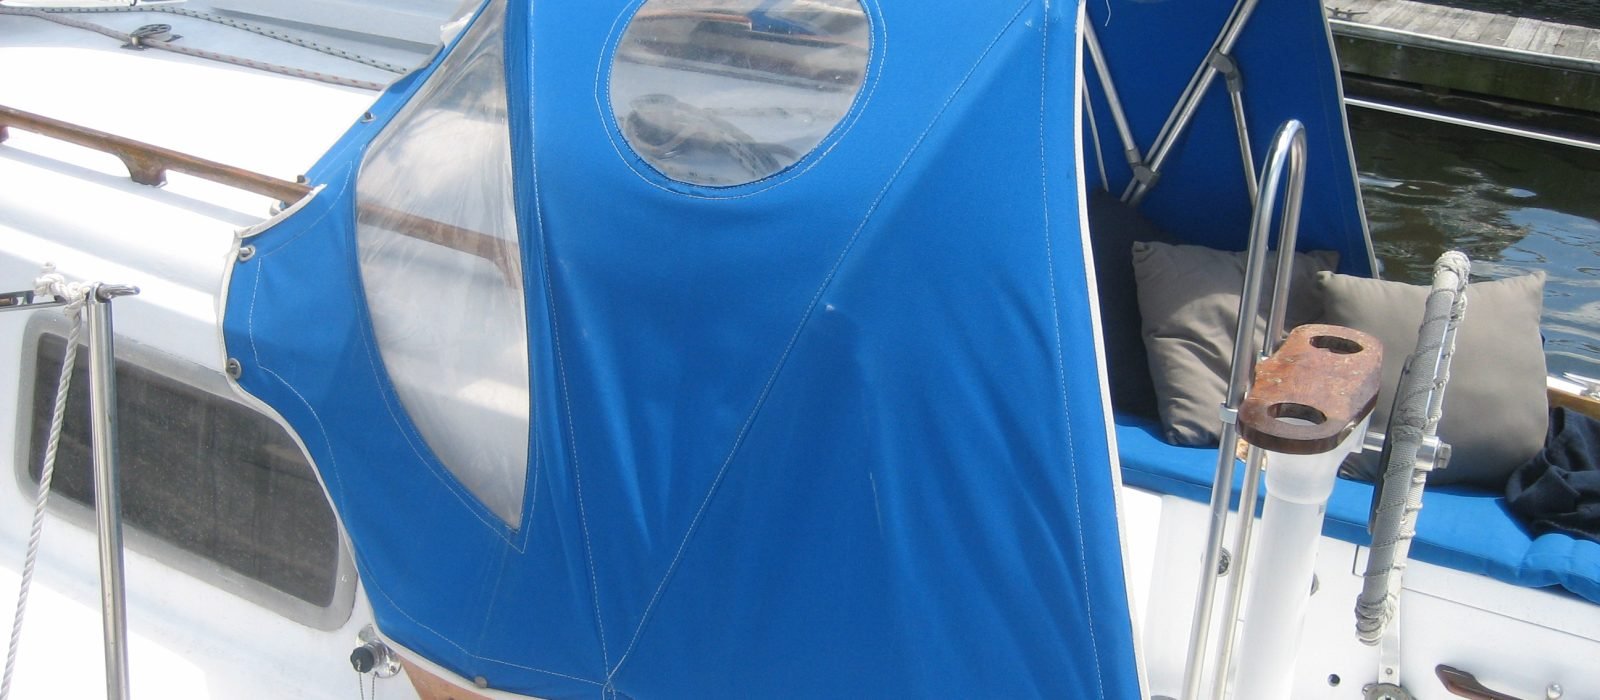
A hard dodger is different from a soft dodger, which is typically made of canvas or vinyl and can be removed or folded when not in use. Soft dodgers are cheaper and easier to install, but they also have some disadvantages. They can block your view, deteriorate over time due to sun exposure, and flap in strong winds. A hard dodger, on the other hand, offers more durability, stability, and visibility2.
Why Build Your Own Hard Dodger?
Building your own hard dodger has several benefits over buying one. Here are some of them:
- You can save money. A hard dodger can cost thousands of dollars if you buy it from a manufacturer or a custom shop. By building your own, you can reduce the cost significantly by using materials that are readily available and affordable.
- You can customize it to your boat. A hard dodger that is designed for your boat will fit better and look more harmonious than a generic one. You can also choose the shape, size, color, and features that suit your preferences and needs.
- You can learn new skills. Building your own hard dodger is a rewarding and challenging project that will teach you a lot about boat construction, fiberglass work, and epoxy resin. You will also have the satisfaction of creating something with your own hands and seeing the results of your hard work.
How to Build Your Own Hard Dodger
Building your own hard dodger is not a simple task, but it is not impossible either. You will need some basic tools, materials, and skills, as well as patience and attention to detail. Here are the main steps involved in the process:
1. Plan and Design Your Hard Dodger
The first step is to plan and design your hard dodger. You will need to measure your boat’s cockpit and decide how big and how high you want your dodger to be. You will also need to consider how it will attach to the deck, how it will affect the rigging and the sails, and how it will blend with the boat’s aesthetics.
You can use cardboard, tape, wire, or monofilament line to make a mock-up of your dodger on your boat. This will help you visualize how it will look and function, and make any adjustments before you start cutting and gluing3. You can also use software like SketchUp or Fusion 360 to create a 3D model of your dodger on your computer.
When designing your dodger, it is best to avoid flat surfaces, especially horizontal ones. Curved surfaces will add strength and stiffness to your structure, as well as reduce wind resistance and water accumulation3. You should also make sure that you leave enough room for operating all the winches and rope clutches, and that you have good visibility from the helm.
2. Cut and Shape Your Materials
The next step is to cut and shape your materials according to your design. You will need a base layer of plywood or foam, a core layer of foam or balsa wood, and a top layer of fiberglass cloth. You will also need epoxy resin and hardener to bond the layers together.
You can use a jigsaw, a circular saw, or a table saw to cut the plywood or foam to the desired shape. You can use a hot wire cutter or a knife to cut the foam core. You can use scissors or a rotary cutter to cut the fiberglass cloth.
You will need to shape the materials to create the curves and angles that you want for your dodger. You can use a plane, a rasp, or a sander to smooth and round the edges of the plywood or foam. You can use a heat gun or a hair dryer to bend and mold the foam core. You can use a roller or a brush to apply the epoxy resin and hardener to the fiberglass cloth.
3. Assemble and Glue Your Hard Dodger
The final step is to assemble and glue your hard dodger together. You will need to work in a well-ventilated area, wear protective gloves and goggles, and follow the instructions and safety precautions of the epoxy resin and hardener.
You will need to lay the fiberglass cloth over the plywood or foam base layer, and apply the epoxy resin and hardener over it. You will need to press the cloth firmly onto the base layer, making sure there are no air bubbles or wrinkles. You will need to repeat this process for the other side of the base layer.
You will then need to place the foam or balsa core layer over the fiberglass cloth, and apply more epoxy resin and hardener over it. You will need to press the core layer firmly onto the cloth, making sure there are no gaps or voids. You will need to repeat this process for the other side of the core layer.
You will then need to lay another layer of fiberglass cloth over the core layer, and apply more epoxy resin and hardener over it. You will need to press the cloth firmly onto the core layer, making sure there are no air bubbles or wrinkles. You will need to repeat this process for the other side of the core layer.
You will then need to let your hard dodger cure for at least 24 hours, or according to the manufacturer’s recommendations. You will then need to trim any excess material, sand any rough edges, and paint or varnish your hard dodger as desired.
4. Attach Your Hard Dodger to Your Boat
The last step is to attach your hard dodger to your boat. You will need some hardware like bolts, nuts, washers, hinges, latches, and brackets to secure your dodger to the deck. You will also need some sealant like silicone or butyl tape to prevent water from leaking into your boat.
You will need to drill holes in your deck and in your dodger where you want to place the hardware. You will need to apply sealant around the holes and on the hardware before inserting them. You will need to tighten the nuts and bolts with a wrench, making sure they are aligned and level.
You will then need to install any windows, doors, vents, or other features that you want for your dodger. You can use acrylic, polycarbonate, or laminated glass for the windows, and plywood, foam, or fiberglass for the doors. You can use hinges, latches, magnets, or velcro to open and close them.
You will then need to test your hard dodger for stability, functionality, and comfort. You can make any adjustments or modifications as needed. You can also add some accessories like lights, speakers, or solar panels to your hard dodger.
Key Takeaways
- A hard dodger is a permanent, rigid structure that provides shelter and support for your sailboat’s cockpit.
- Building your own hard dodger can save you money, customize it to your boat, and teach you new skills.
- To build your own hard dodger, you will need to plan and design it, cut and shape your materials, assemble and glue them together, and attach them to your boat.
- You will need materials like plywood, foam, fiberglass, epoxy, and hardware to build your hard dodger.
- You will need tools like a saw, a cutter, a sander, a drill, a wrench, and a roller to build your hard dodger.
FAQ
How much does it cost to build a hard dodger?
The cost of building a hard dodger depends on the size, shape, and materials that you use. A rough estimate is that it will cost between $500 and $2000 to build a hard dodger for a typical sailboat4.
How long does it take to build a hard dodger?
The time it takes to build a hard dodger depends on your skill level, the complexity of your design, and the availability of your materials. A rough estimate is that it will take between 40 and 80 hours to build a hard dodger for a typical sailboat4.
How do I maintain my hard dodger?
To maintain your hard dodger, you will need to clean it regularly with mild soap and water, and inspect it for any cracks or damage. You will also need to reapply paint or varnish as needed to protect it from UV rays and moisture. You will also need to lubricate any hinges or latches as needed to prevent them from rusting or jamming.
If possible, you can use prompts on Adobe Firefly to generate images that match your specifications. For example, you can use the prompt “a sailboat with a hard dodger” to generate an image of a sailboat with a hard dodger. You can also use modifiers like “blue”, “curved”, or “large” to adjust the appearance of the image. For example, you can use the prompt “a large curved blue hard dodger” to generate an image of a large curved blue hard dodger.